The error ‘An Active Directory Domain Controller for the domain could not be contacted’ often occurs due to your DNS misconfiguration in which case you will have to change it. Users have reported that when they try to add another Windows Workstation to a domain, they are presented with the following error message.
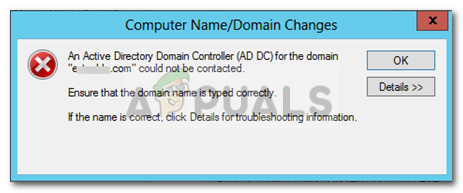
When you click on the Details button to know more about the error, it will tell you that the DNS name does not exist along with an error code. If you have come across the ‘An Active Directory Domain Controller for the domain could not be contacted’ error on Windows 10, this article will help you resolve it. In case you are quite bugged about the error message, follow the workarounds provided down below to circumvent the issue.
What causes the ‘An Active Directory Domain Controller for the domain could not be contacted’ Error on Windows 10?
After looking into the matter, we have discovered that the issue is often due to the following factors —
- DNS misconfiguration: As we mentioned above, the primary cause of the error is your DNS misconfiguration. The DNS setting can be easily re-configured to fix the issue.
- DNS services: In some cases, the error can also generate due to a malfunctioning DNS service. Restarting the service seems to fix the issue.
Now, to fix your issue, please follow the solutions down below. As always, we recommend following it in the same order as provided down below.
Solution 1: Add New DNS Configuration
Since the primary cause of the issue is DNS configuration, adding a new DNS configuration in accordance to your domain should fix the issue. To do this, first, you will have to log on to the system that you are trying to add. Afterward, following the instructions down below:
- Go the Network and Sharing Center settings by going to the Control Panel and searching for Network and Sharing Center.
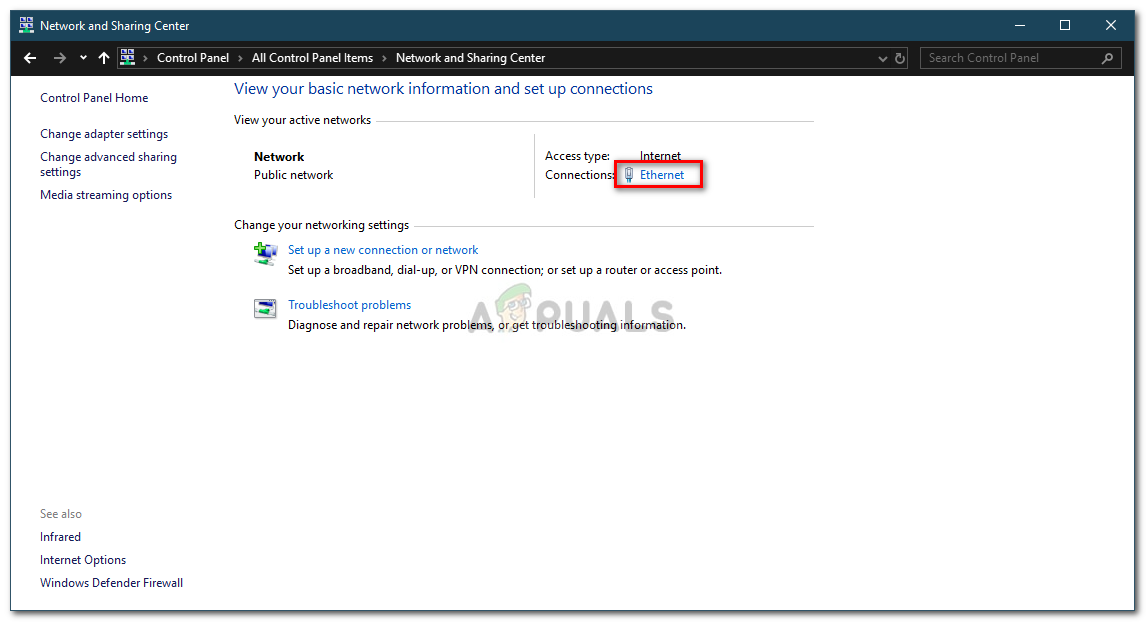
Network and Sharing Center - In front of the Network you are using, click ‘Ethernet’.
- Once the new window pops up, go to Properties.
- From the list, highlight Internet Protocol Version 4 (TCP/IPv4) and then click Properties.

Ethernet Properties - Click Advanced and then switch to the DNS tab.
- Under ‘DNS server addresses’, click Add and then type in the IP of your Domain Controller in the window.
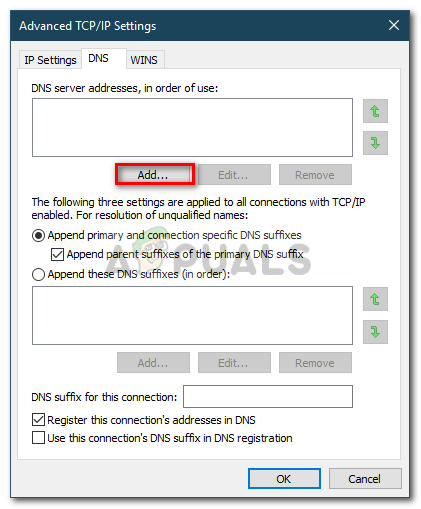
Adding DNS Address - Hit OK on the all the Windows that you have opened and then reboot your system.
- Try joining the domain again.
Solution 2: Restarting DNS Service
In some certain scenarios, the error message pops up due to your DNS services not working properly. This issue can be easily resolved by simply restarting the services. Here’s how to do it:
- Press Windows Key + R to open Run.
- Type in ‘services.msc’ and then press Enter.
- From the list of services, locate DNS Client service.
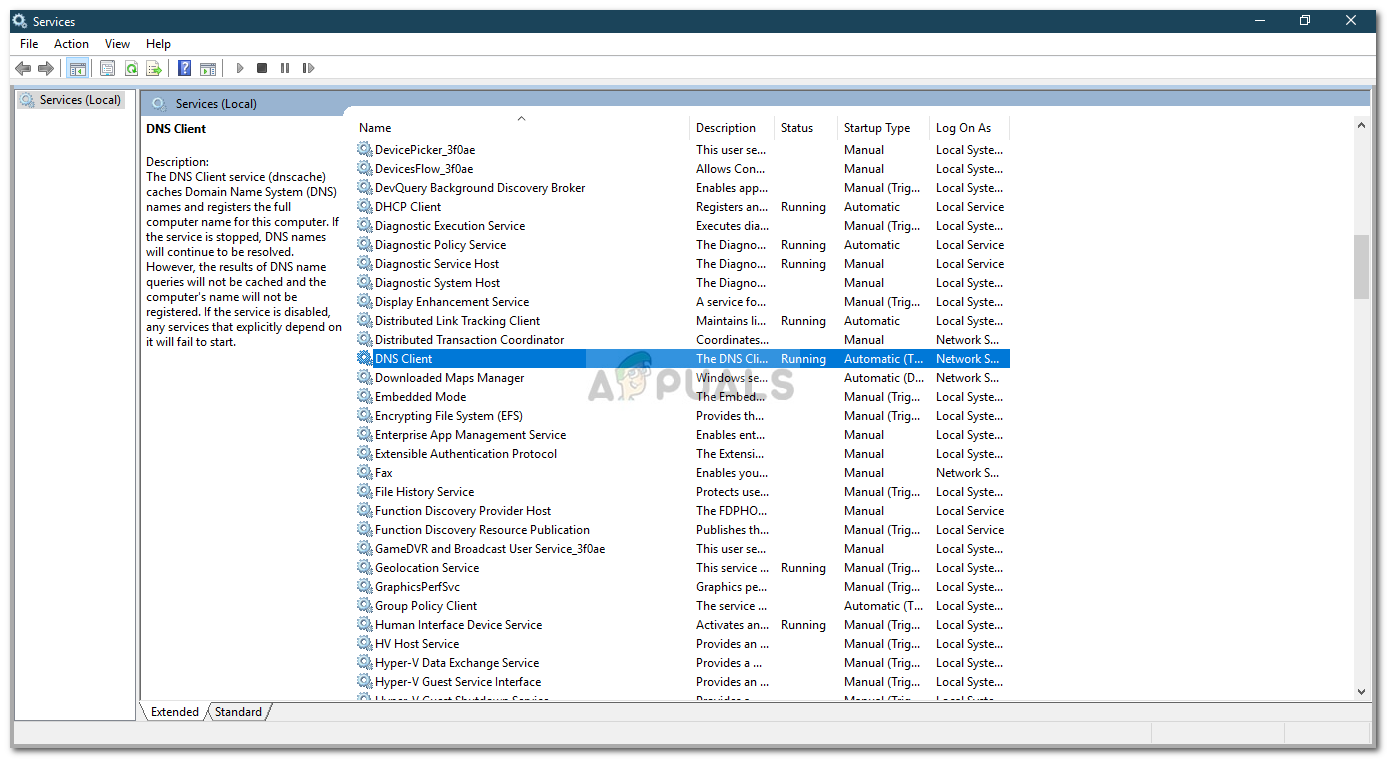
DNS Client Service - Right-click on it and select Restart.
- If you are unable to restart the service, just open an elevated command prompt by pressing Windows Key + X and selecting Command Prompt (Admin) from the list.
- Type in the following command and press Enter:
net stop dnscache
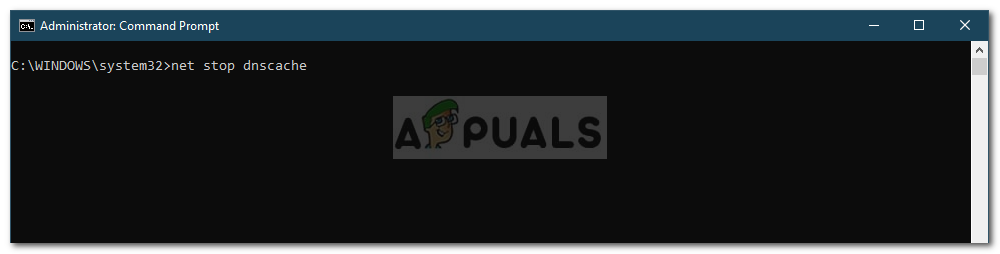
Stopping DNS Service - To start it again, type in:
net start dnscache
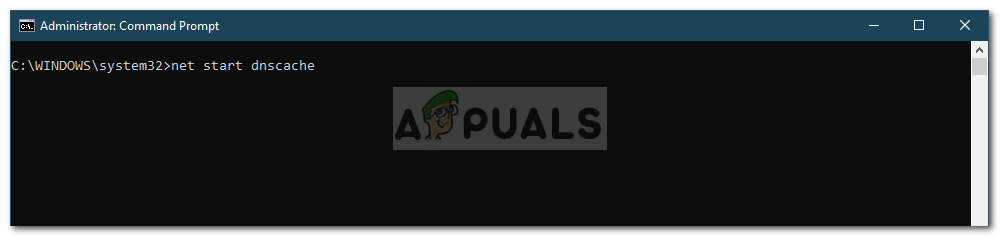
Starting DNS Service - Once done, try joining the domain.
Solution 3: Connecting using the Settings Window
Finally, you can also resolve your issue by connecting to the domain using a different method. Generally, users connect a system to a domain using the system properties. However, you can also connect to the domain using the following method:
- In the Cortana search bar, type in Sign in options and then open it up.
- Switch to the ‘Access work or school’ tab.
- Click on Connect.
- A new window will pop up, click on ‘Join this device to a local Active Directory Domain’.
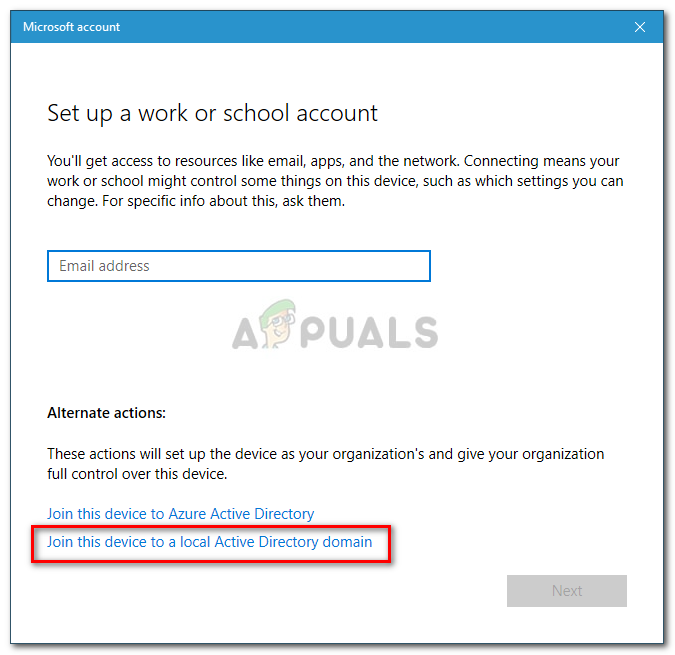
Setting Up Device - Type in the domain name. Make sure that you type in the domain name along with the .local (xxxxx.local).
- Afterward, it will ask for the administrator and password.
- Enter the credentials and then restart your system.
Comments
Post a Comment