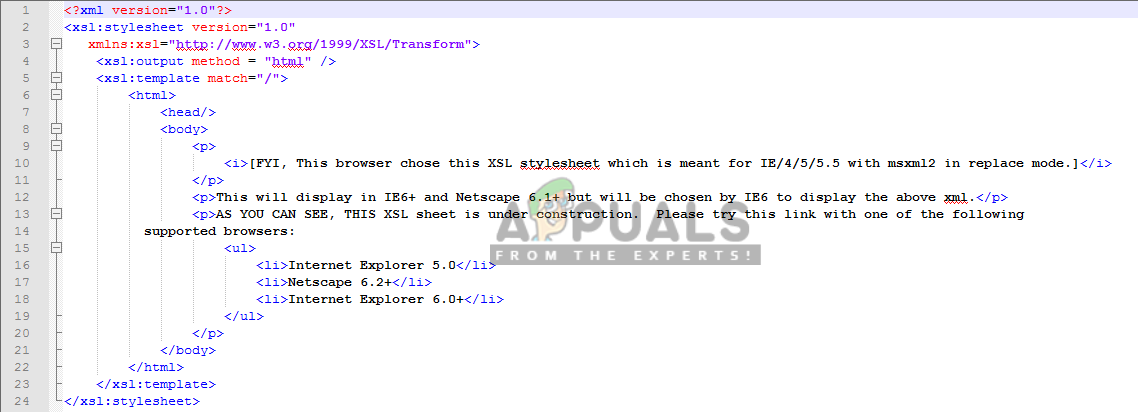
Notepad++ is a free text and source code editor that is mostly used by programmers. It is an advanced alternate version of the default notepad which supports 50 programming, scripting and markup languages. It allows a user to edit codes within multiple tabs in a single window. However, it lacks the formatting for XML files or XML code. Users will find it difficult to edit or read the XML code without the correct format for code.

What is XML File?
XML (stands for eXtensible Markup Language) which is a language designed to store and transport data. XML files are just plain text files that can’t do anything on their own. Custom tags are used in XML files to define objects and the data within each object. It defines a set of rules for encoding documents in such a format that both humans and machines could read. XML is similar to HTML but the difference is that HTML defines how data looks, while XML defines what data is.
Step 1: Adding Plugin Manager from Github
Plugin Manager is a Notepad++ plugin through which you can install, update and remove available plugins. Plugin Manager was removed from the official distributors after the Notepad++ version 7.5. The reason for removing this plugin was sponsored advertising at the bottom of the plugin window. Recently Notepad++ added the “Plugins Admin” as a replacement for the Plugin Manager with same features and no Ads, but it is still in the test version and the list of available plugins are still missing many of the plugins.
Skip this step if you already have a Plugin Manager in your Notepad++. Plugin Manager is removed but you can still add/install it manually by following the steps below:
- First go to this GitHub link: Plugin Manager
- Choose 32bit or 64bit zip file to download depending on your Notepad++
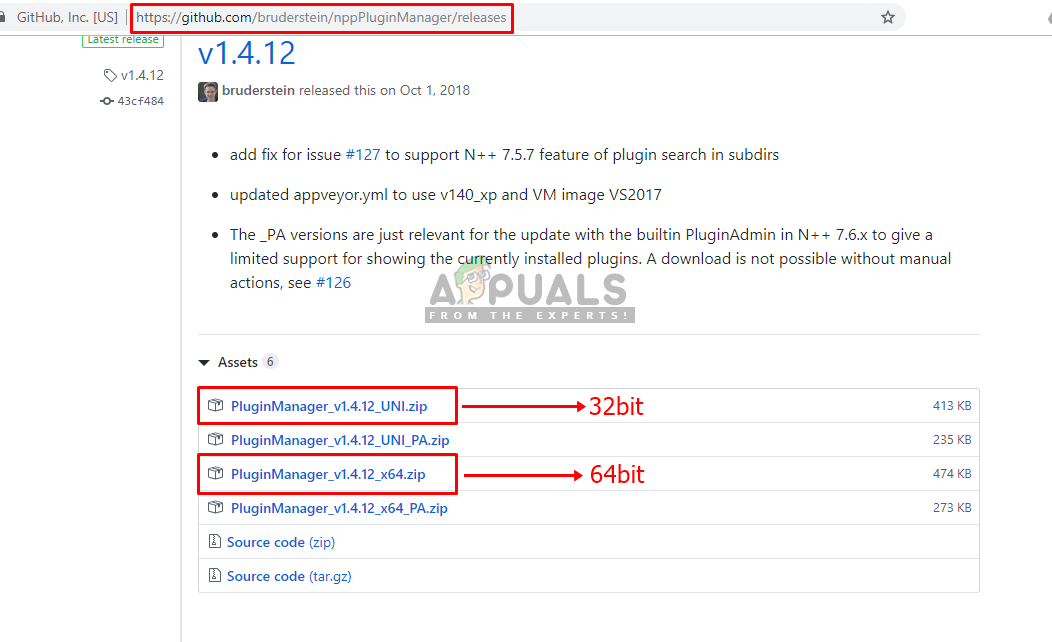
Download zip files for Plugin Manager on GitHub - (If you don’t have WinRAR, just open the zipped folder and drag the files/folders from the zipped folder to a new location)
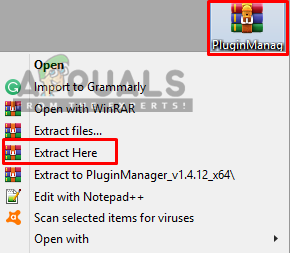
Extracting the zip file - You will find two folders named “plugins” and “updater” in the extracted folder. Keep it open and locate the Notepad++ folder in another window:
C:\Program Files\Notepad++ - You will find same named folders in Notepad++ directory, copy the files from extracted folders and pastethem in the exact folders of Notepad++
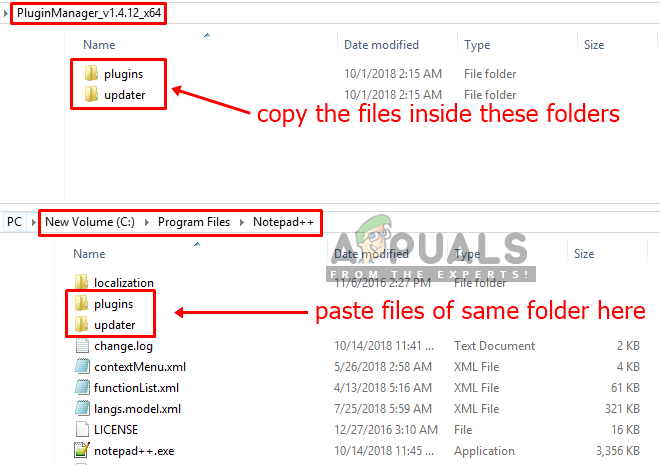
Copy from downloaded folder to Notepad++ folder - Once you are done, restart you Notepad++ and Plugin Manager will be available in the Plugins menu.
- Open Notepad++ by double-clicking on the shortcut
- Click on Plugins in the menu bar, choose Plugin Manager and then Show Plugin Manager
- A window will open with a list of all available plugins, then search for “XML Tools“
- Select the plugin and click on the Install button, then it will ask for restart Notepad++ after installing.
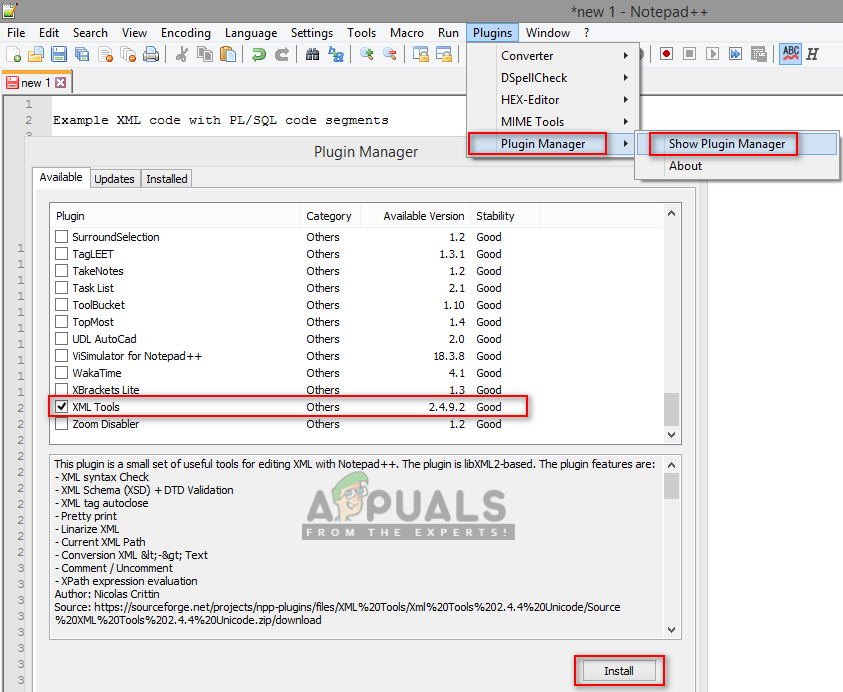
Installing XML Tools through Plugin Manager - Now you can open the XML file or copy the code in the new tab
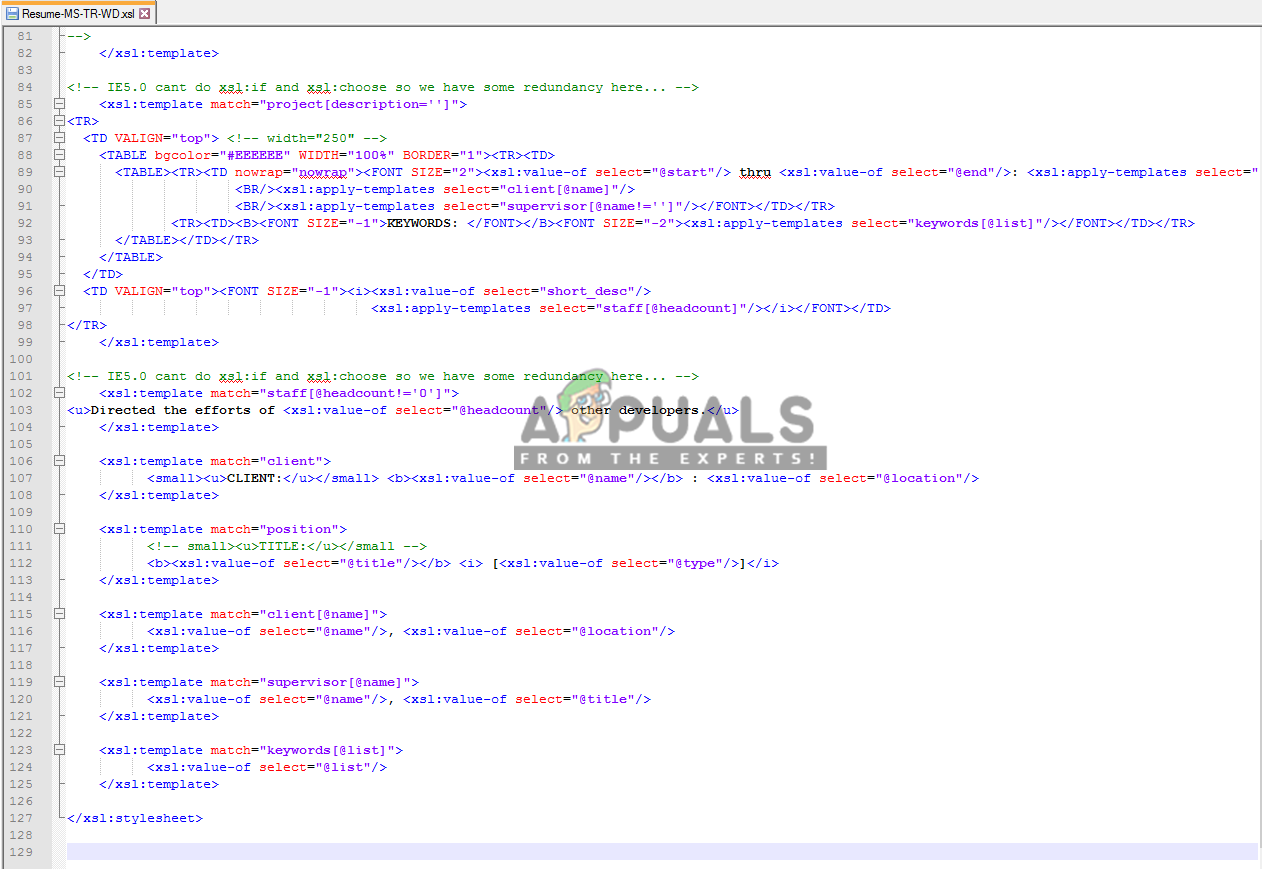
Opening random XML File - Click on Plugins and then choose XML Tools > Pretty Print (XML only –with line breaks)
Tip: libXML option gives the nice output but only if the file is 100% correctly formed.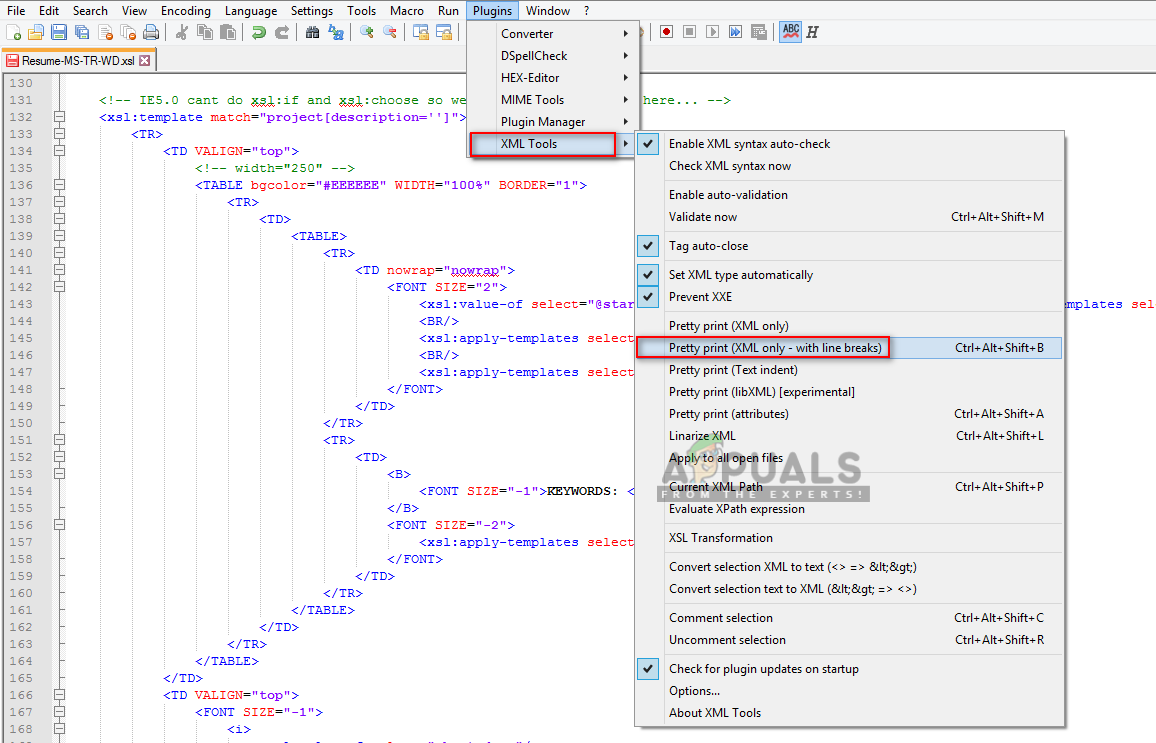
Changing the format of XML Code by using XML Tools - This will change the format of the code.
Step 2: Installing XML Tools Plugin through Plugin Manager
In this method, we will be installing the XML Tools plugin through Plugin Manager. By default, there is no option available to format/indent the XML code but you can modify it by using this plugin. With this tool you can convert text to XML and XML to text, enable auto check XML syntax and more.
Comments
Post a Comment