MP4 files are commonly recognized by people as the files with MP4 extension. MP4 is the most commonly used file format for storing audios, videos as well as images and captions these days because of its portability and cross compatibility. However, when it comes to editing these files, then it gets a bit too tricky. Although, there are numerous MP4 editors that are available out there but still, people prefer to have some general guidelines regarding the editing of MP4 files before getting started with any MP4 editor. So let us have a look at the steps of editing MP4 files on Lightworks.
How to Edit MP4 Files?
In order to edit MP4 files on Lightworks, you will need to perform the following steps:
- After downloading and installing Lightworks successfully, double click on its shortcut icon in order to launch the Lightworks application. On the main application window, click on the link saying, “Create a new project” as shown in the following image:

Click on Create a New Project Link in order to begin your Editing with Lightworks - As soon as you will click on this link, the New Project Details dialogue box will appear on your screen. Type the Name of your new project and then click on the Create button as highlighted in the image shown below:
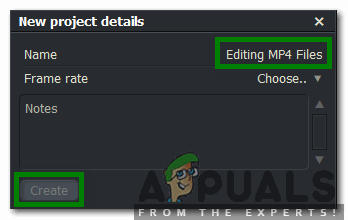
After Typing in the Name of your New Project, Click on the Create Button in Order to Get Started - On your new project window, switch to the Local Files tab by clicking on it.

Navigate to the Local Files Tab - As soon as you will switch to this tab, you will be able to browse through your computer system in order to find the file that you want to import. Just click on your desired MP4 file and drag it towards the right pane of the window.
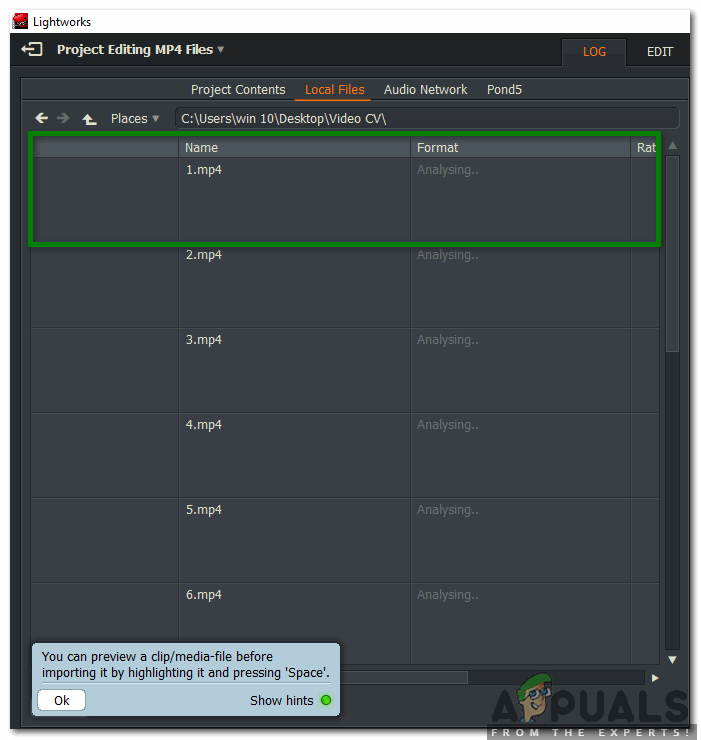
Importing an MP4 File to Lightworks - Once your desired MP4 file is dragged to the right pane of the window, you will be able to see the Importedlabel below that file in the left pane of your project window indicating that your MP4 file has been successfully imported to Lightworks.

MP4 File has been Successfully Imported to Lightworks - Now switch to the Edit tab as highlighted in the image shown above in order to start editing your MP4 file.
- If you want to add background audio to your MP4 video, then click on the Audio Voiceover icon located on the right pane of your project window and simply start recording your voice.

Adding an Audio Voice-over to your MP4 File - If you want to add any Visual Effects to your MP4 file, then switch to the VFX tab by clicking on it as shown in the following image:
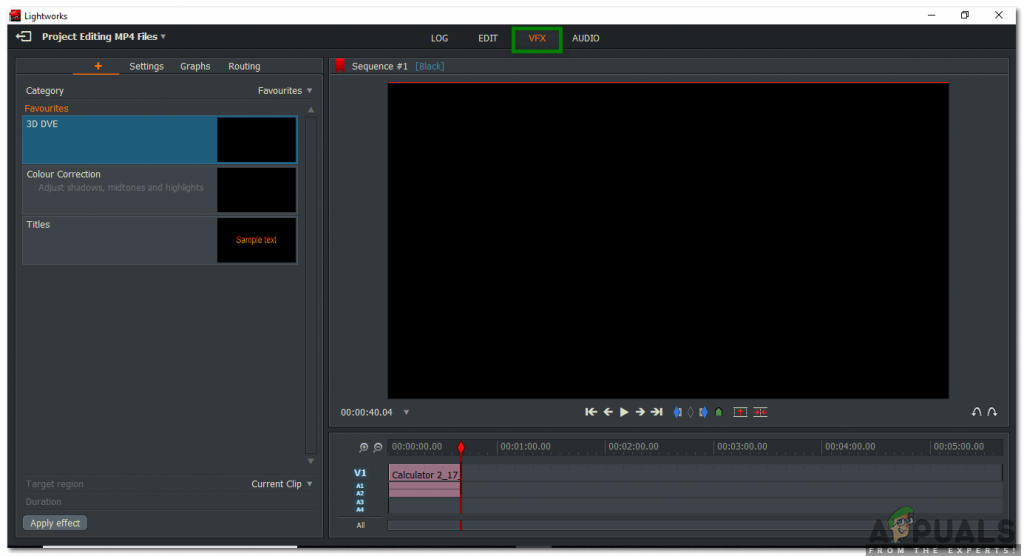
Adding Visual Effects to your MP4 File - In order to change the Brightness, Contrast, Saturation, etc. of your MP4 file, click on the Color Correction label within the VFX tab. Here you will be able to modify all these aspects along with some others, of your MP4 file very conveniently.

Changing the Brightness, Contrast, Saturation, etc. of your MP4 File - Once you are done with the editing of your MP4 file, you can easily export it in your desired format. For doing that, right-click anywhere in the bottom pane of your Lighworks project window. Click on the Exportoption from the cascading menu and then select the desired export format from the sub-cascading menu as highlighted in the image shown below:

Selecting the Export Format for your Edited Lightworks Project - Finally, choose the Frame Rate, Name, Destination, etc. for your newly edited Lightworks project and then click on the Start button in order to start exporting your file.

Exporting the Edited MP4 File
This was just a basic overview of editing MP4 files with Lightworks. In order to get a deep insight into this software and explore all of its hidden features, you will need to try it out yourself. However, if you do not want to spend any money on getting an MP4 editor and are still confused about which MP4 editor you should go for, then you can take a look at our article on The Best Free MP4 Editors
Comments
Post a Comment