Local Group Policy Editor will let you control a lot of settings that don’t necessarily have a graphical representation without having to modify the Registry. When used correctly, the Group policy is a powerful tool capable of unlocking and disabling features that are normally inaccessible via the conventional paths.
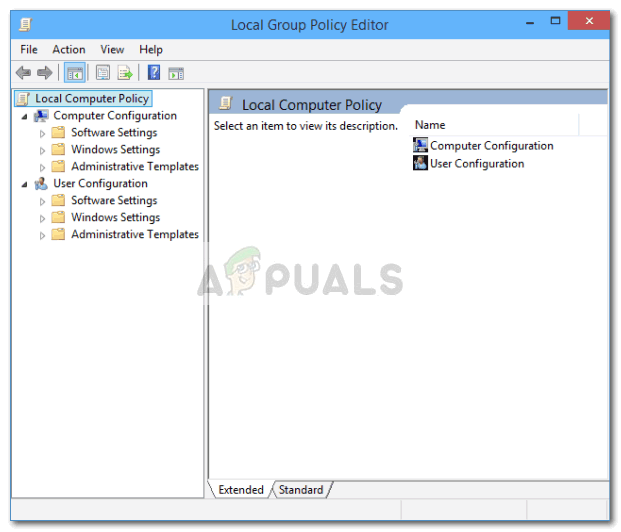
What is Local Group Policy Editor
The Local Group Policy Editor (gpedit.msc) is essentially a Management Console (MMC) snap-in that acts as a common interface for all Computer Configuration and User Configuration settings. The administrator can use thegpedit.msc tool to create policies that will then be applied to the computer (regardless of who’s accessing it) or only to certain users that log-in with their user’s accounts.
In the event that the administrator uses Computer Configuration to set a policy, the settings will be applied to all users regardless of who is logged on. If the administrators make use of User Configuration to enforce a policy, it will apply to those users (regardless of the computer that they use).
By default, the policies that are enforced with Local Group Policy Editor produce effects with all users unless the administrator specifies otherwise.
Note: Keep in mind that the Local Group Policy Editor is only found on Windows 10 Enterprise, Windows 10 Education, and Windows 10 Pro editions. If you don’t have one of these editions but you still want to use the Local Group Policy Editor, follow this article (here) for steps on installing Local Group Policy Editor (gpedit.msc) on Windows 10 Home.
How to Open Local Policy Editor
Once you are certain that your computer is equipped to open the Local Group Policy Editor, here’s a list of different methods that you can use to open the gpedit.msc tool in Windows 10. Keep in mind that all methods will help you achieve the same exact thing, so follow whichever method seems more convenable to your situation.
Note: Keep in mind that whatever method you end up using, you need to be signed in with an administrator account in order to open and use the Local Group Policy Editor.
Method 1: Open Local Group Policy Editor via a Run Box
This is one of the quickest ways to access the Local Group Policy Editor. To open the gpedit.msc tool from a Run box, press Windows key + R to open up a Run box. Then, type “gpedit.msc” and hit Enter to open the Local Group Policy Editor.
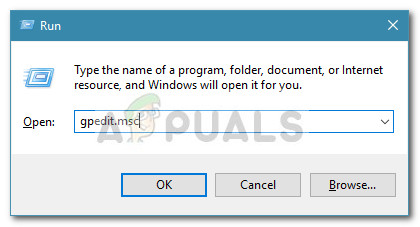 Note: If you get a message saying the “Windows cannot find gpedit.msc”, it’s probably because your Windows 10 version is not equipped to open the Local Group Policy Editor.
Method 2: Open Local Group Policy Editor via the Search bar
Another speedy way to get around opening the gpedit.msc tool is via the search function. Here’s how to do this:
- Start by clicking on the Windows start bar (bottom-left corner) or press the Windows key.
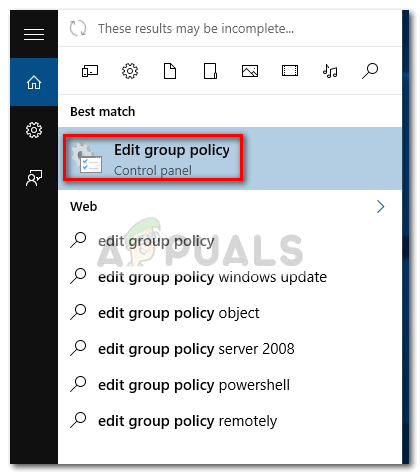
- Then, type gpedit.msc to make use of the search function. Next, click on Edit group policy and click the Yesbutton at the UAC (User Account Control).
Method 3: Open Local Group Policy Editor via Command Prompt
Another way to go around opening the Local Group Policy Editor is to use Command Prompt to launch the gpedit.msc tool. Here’s how to do this:
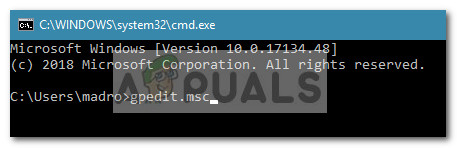
- Open a Command Prompt window (it doesn’t have to be elevated) – to open a Command Prompt window, either access the start bar (Windows key) and use the search function to search for “cmd” or press Windows key + R to open a Run box, then type “cmd” and press Enter to open a Command Prompt Window.
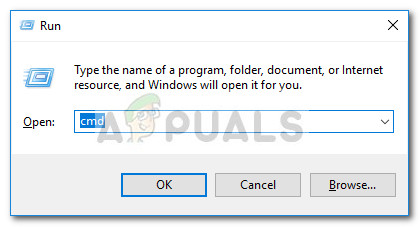
2. Then in the Command Prompt window, simply type gpedit.msc and press Enter to open the Local Group Policy Editor.
Method 4: Open a Local Group Policy Editor in PowerShell
Another way to open the Local Group Policy Editor (gpedit.msc) tool is via Powershell. The procedure is highly similar to Command Prompt. Here’s how to do it:
- Open Powershell by accessing the Windows Start menu, type “powershell” and click on Windows Powershell.
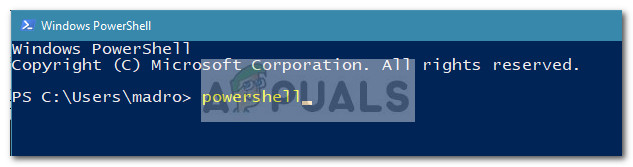
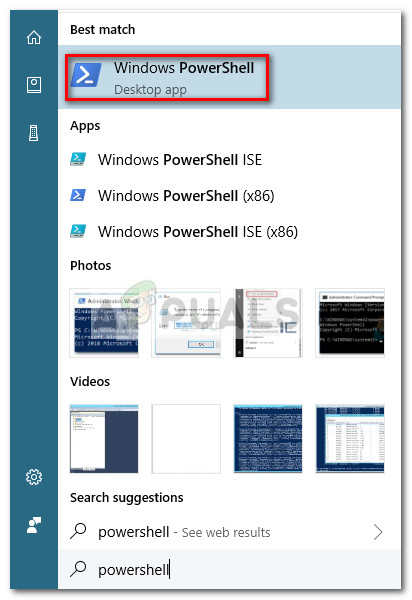 Note: Additionally, you can open Windows Powershell by opening a Run box (Windows key + R), typing “powershell” and hitting Enter to open Windows Powershell.
 - In Powershell, type “gpedit.msc” and hit Enter to open the Local Group Policy Editor.
Method 5: Opening the Local Group Policy Editor via Control Panel
Another way to open the gpedit.msc tool is via the old Control Panel menu. As you know, Microsoft is slowly replacing the old Control Panel with the new Settings menu, but that doesn’t mean you can no longer access it. Follow the steps down below to open the Local Group Policy Editor from the Control Panel menu:
- Press Windows key + R to open up a new Run box. Then, type “control” and hit Enter to open the old Control Panel menu.
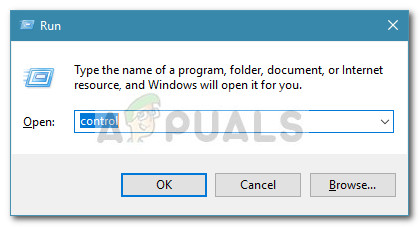
- In Control Panel, click on Administrative tools and then double click on Local Group Policy Editor.
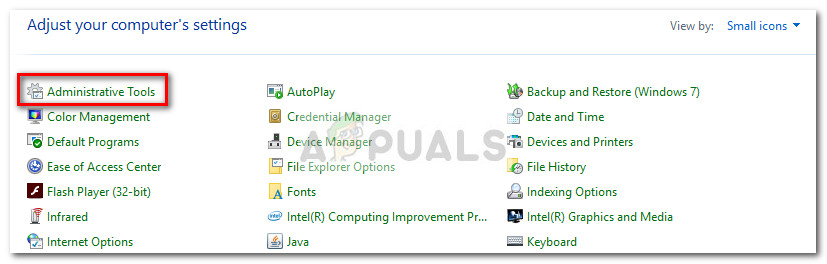 Note: Another way to do this is to use the search function in the top-right corner to search for group policy, then click on Edit group policy.
Method 6: Opening the Local Group Policy Editor via Settings
Another way to open the Local Group Policy Editor is via the Settings charm. Here’s a quick guide on how to do this:
- Press Windows key + I to open the Settings app of Windows 10.
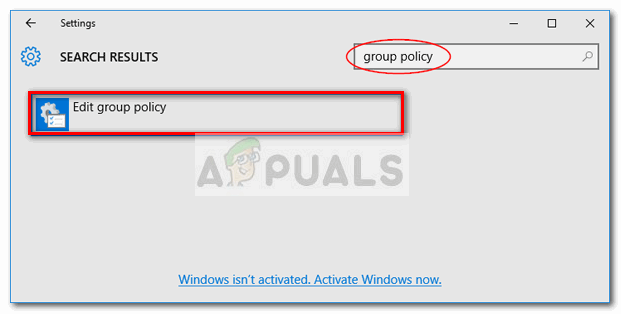
- Then, use the search function of the Settings app to search for “group policy“.
- Next, click on Edit group policy to open the Local Group Policy Editor.
Method 7: Open the Local Group Policy Editor manually
The manual way to open the gpedit.msc tool is to manually browse to the location of the Local Group Policy Editor and double-click on the executable. Here’s a quick guide on how to do this:
- Open Windows File Explorer and navigate to C:\ Windows \ System32.
- Then, either locate gpedit.msc manually or use the search function (top-right corner) to search for it.
- Double-click on gpedit.msc to open up the Local Group Policy Editor and click Yes at the UAC prompt.
Note: If you find yourself using the gpedit.msc utility frequently, you can create a shortcut by right-clicking on it and choosing Send to > Desktop.
Comments
Post a Comment